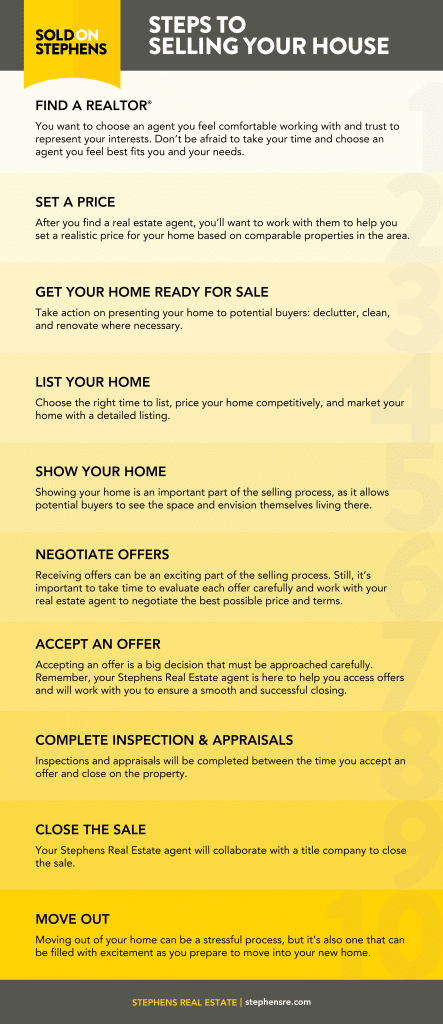
Guide to Selling Your House near Lawrence, KS
When it comes to selling your home, it’s natural to have questions. What are the steps to selling a house? What’s the best way to sell a house? While the process of selling a home can be stressful, it doesn’t have to be. At Stephens Real Estate, we’ve helped many clients successfully navigate selling their homes, and we’re here to offer our expertise and support to make the process as smooth as possible. In this guide, we’ll walk you through the steps to selling your house in and around Lawrence, Kansas.
Step 1: Choose a Real Estate Agent
When it comes to selling your home, there are a lot of unknowns. By having a real estate agent on your side, they can guide you through the process of selling a home from start to finish. Here are some things to consider when looking for a reputable and experienced real estate agent:
- Research potential agents: Look for agents in your area who have experience selling homes similar to yours. You can start by asking friends and family for recommendations or by searching online for agents who have positive reviews and a good reputation.
- Interview potential agents: Once you have a list of potential agents, set up interviews to get to know them better. During the interview, ask about their experience, marketing strategies, and their communication style.
- Evaluate their marketing plan: A good real estate agent should have a clear plan for how they will market your home to potential buyers. This might include listing your home on popular websites, staging your home for photos and showings, hosting open houses, and using social media to reach a wider audience.
- Check their credentials: Make sure the agent you choose is licensed in your state and has no history of disciplinary action. You can verify their license with your state’s real estate licensing board
- Understand their fees: Real estate agents typically charge a commission on the sale of your home, which is usually a percentage of the final sale price. Make sure you understand how much the agent will be paid and what services are included in their fee
- Trust your gut: Ultimately, you want to choose an agent you feel comfortable working with and trust to represent your interests. Don’t be afraid to take your time and choose an agent you feel best fits you and your needs.
Step 2: Set a Price
After you find a real estate agent, you’ll want to work with them to help you set a realistic price for your home based on comparable properties in the area. Because setting the right price is important to attract potential buyers, it’s important to consider these factors:
- Get a comparative market analysis (CMA): Your real estate agent can provide you with a CMA, which is a report that compares your home to similar properties in your area that have recently sold, are currently on the market, or have expired. This can help you determine a realistic price range for your home.
- Consider your home’s condition: The condition of your home can also impact the price. If your home is in excellent condition and has many upgrades and features, it may be worth more than similar homes in your area. On the other hand, if your home needs repairs or upgrades, it may be worth less.
- Take into account the current market: The current real estate market can also impact the price of your home. If there are many buyers and few homes for sale, you may be able to price your home higher. Conversely, if there are few buyers and many homes for sale, you may need to price your home lower to attract buyers.
- Consider your timeline: If you need to sell your home quickly, you may need to price it lower to attract buyers. On the other hand, if you can afford to wait for the right buyer, you may be able to price your home higher.
- Be flexible: Keep in mind that the price of your home may need to be adjusted based on feedback from potential buyers or changes in the market. Your real estate agent can help you monitor the market and make adjustments to your price as needed.

Step 3: Get Your Home Ready for Sale
Once you’ve got a price, it’s time to get your home ready for sale. Besides taking the below steps, your real estate agent may have other ideas on actions you may want to take to get your home ready.
- Declutter and clean: Clear out any clutter and unnecessary items in your home to make it appear more spacious and inviting. Clean your home thoroughly, including carpets, walls, and windows.
- Make any necessary repairs: Fix any problems with your home, such as leaky faucets, broken windows, or damaged flooring. A well-maintained home will be more appealing to potential buyers.
- Improve your home’s curb appeal: The exterior of your home is the first thing potential buyers will see, so make sure it looks its best. Clean up the landscaping, add some fresh flowers, and make any necessary repairs to the exterior of your home.
- Stage your home: Staging your home involves setting it up to look its best for potential buyers. This might involve rearranging furniture, adding decor, or even renting furniture to make your home look more appealing.
- Take high-quality photos: Your real estate agent will likely hire a professional photographer to take photos of your home for online listings. Make sure your home is clean and staged before the photographer arrives to get the best possible photos.
- Consider making upgrades: Depending on your budget and the condition of your home, you might consider making some upgrades or renovations to make your home more appealing to buyers. This might include updating appliances, installing new flooring, or adding a fresh coat of paint.
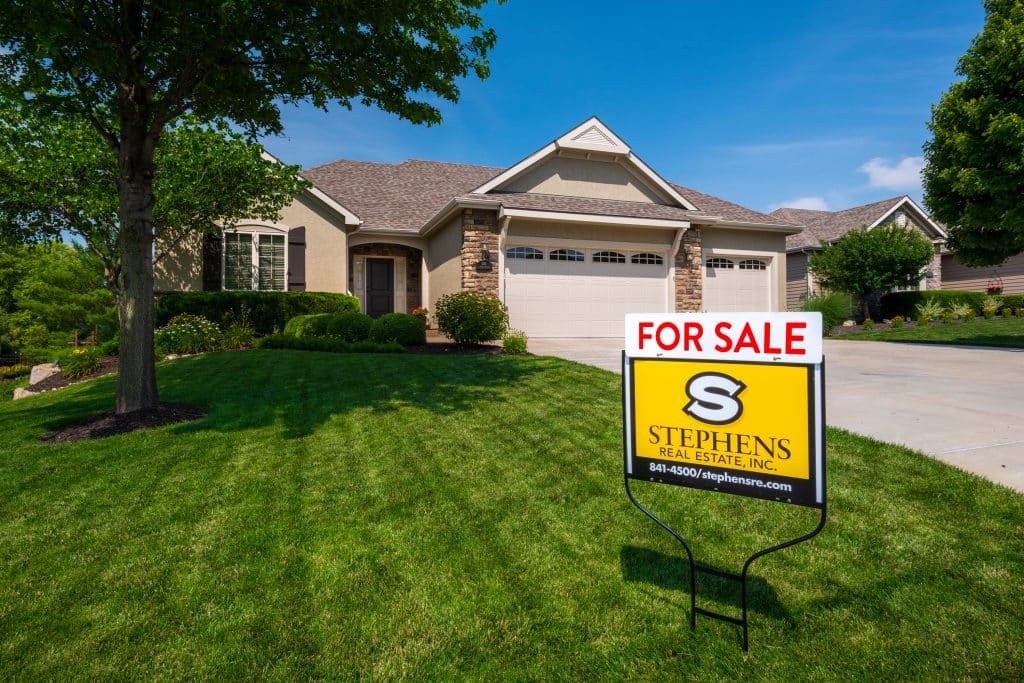
Step 4: List Your Home
Next, you’ll work with your real estate agent to help you list your home. Follow these tips to help navigate the process with confidence:
- Choose the right time to list: The timing of your listing can impact the success of your sale. Talk to your real estate agent about the best time to list based on the current market conditions and any upcoming events in your area that could impact interest in your home.
- Price your home competitively: As discussed earlier, setting a realistic and competitive price for your home is key to attracting potential buyers. Your real estate agent can help you set a price that will generate interest and competition among buyers.
- Create a detailed listing: Your real estate agent will create a listing for your home that includes photos, descriptions, and details about the property. Make sure the listing is detailed and accurate, highlighting any features or upgrades that make your home stand out.
- Market your home: Your real estate agent will use a variety of marketing strategies to attract potential buyers, such as online listings, social media posts, open houses, and mailings to potential buyers. Work with your agent to ensure your home is being marketed effectively.
Step 5: Showing Your Home
Showing your home is an important part of the selling process, as it allows potential buyers to see the space and envision themselves living there. Here are some tips that will help you increase the likelihood of a successful sale:
- Clean and declutter your home: Less is more! Before a showing, make sure your home is clean and free of clutter. This will make your home more appealing to potential buyers and help them see the space’s full potential.
- Make your home inviting: Create a warm and inviting atmosphere in your home by opening blinds or curtains to let in natural light, turning on soft music, and using scented candles or fresh flowers to add a pleasant aroma to the space.
- Create a neutral environment: To help potential buyers envision themselves living in your home, creating a neutral environment is important. Remove personal items such as family photos, and keep decor and paint colors neutral.
- Be flexible with scheduling: Be flexible with scheduling showings to accommodate potential buyers, including evenings and weekends.
- Leave during showings: It’s best to leave your home during showings to allow potential buyers to feel more comfortable and take their time exploring the space. If you have pets, make sure they are also out of the home during showings.
- Provide information: Leave information about your home for potential buyers, including a list of upgrades or features and any relevant documents such as property disclosures or inspection reports.
- Be prepared for feedback: Potential buyers may offer feedback on your home after a showing. Listen to this feedback and use it to make improvements or adjustments as needed.

Step 6: Receive Offers
Receiving offers can be an exciting part of the selling process. Still, it’s important to take the time to evaluate each offer carefully and work with your real estate agent to negotiate the best possible price. Here are some things to keep in mind when receiving offers:
- Evaluate each offer: When you receive an offer on your home, your real estate agent will help you evaluate it to ensure it meets your needs and expectations. They’ll look at the price, contingencies, financing, and other terms to help you make an informed decision.
- Negotiate: It’s common to receive offers that are lower than your asking price. Your real estate agent will help you negotiate with potential buyers for the best price and terms. This may involve counter-offers, concessions, or other negotiations to find common ground.
- Consider contingencies: Contingencies are clauses in an offer that protect the buyer in case something goes wrong during the sale. Common contingencies include home inspections, financing, and appraisal contingencies. Your real estate agent will help you evaluate these contingencies and decide whether to accept, reject, or negotiate them.
- Understand financing: Buyers may have different financing options available to them, such as cash offers or pre-approved loans. Your real estate agent can help you understand the different financing options and evaluate the strength of each offer.
- Review all documents: Before accepting an offer, make sure to review all documents and paperwork involved in the sale, such as the purchase agreement and closing documents. Your real estate agent can help you understand these documents and ensure that everything is in order.
- Be prepared to move quickly: The process can move quickly once you’ve accepted an offer. Be prepared to work with your real estate agent and any other professionals involved in the sale to meet any deadlines or requirements.
Step 7: Accepting an Offer
Accepting an offer is a big decision that must be approached carefully. Remember that your real estate agent is here to help accept offers that you’re happy with and will work with you to ensure a smooth and successful closing. Once an offer is accepted, prepare for the following:
- Sign the purchase agreement: Once you’ve accepted an offer, you’ll need to sign a purchase agreement. This document outlines the terms of the sale, including the price, contingencies, and closing date. Your real estate agent can help you understand and review the purchase agreement before you sign.
- Prepare for the inspection: The buyer will usually schedule a home inspection after the purchase agreement is signed. This is a time for a professional inspector to check the condition of your home and identify any potential issues. Be prepared to make any necessary repairs or negotiate with the buyer on repairs or credits.
- Work with the buyer’s lender: The buyer’s lender will need to approve the buyer’s financing, which can take several weeks. Be prepared to provide any necessary documentation or information to help the process move smoothly.
Step 8: Complete Inspections & Appraisals
Between accepting an offer and officially closing the sale, you’ll need to deal with inspections and appraisals. Here’s how they work:
- Home Inspection: The home inspection is typically conducted by a professional home inspector hired by the buyer. The inspector will examine your home’s major systems and components, such as the roof, foundation, electrical system, plumbing, and HVAC. The inspector will create a detailed report of any issues found, which will be shared with the buyer. The buyer may then ask you to make repairs or provide a credit to cover the cost of the repairs. Your real estate agent can help you understand the inspection report and negotiate any repair requests.
- Termite Inspection: Some states require a termite inspection before a home can be sold. A licensed inspector will check your home for evidence of termite damage and other wood-destroying organisms. If any issues are found, you may need to make repairs or treatments before the sale can proceed.
- Radon Inspection: Radon is a naturally occurring gas that can be harmful if it accumulates in high levels. Some areas are known to have higher levels of radon than others, so buyers may request a radon inspection before closing. If high levels of radon are found, you may need to install a mitigation system to reduce the levels.
- Appraisal: The appraisal is conducted by a licensed appraiser hired by the buyer’s lender. The appraiser will evaluate the value of your home based on its condition, location, and recent sales of similar properties in the area. If the appraised value is lower than the sale price, the buyer’s lender may not approve the loan. In this case, you may need to negotiate a lower sale price or find a different buyer.
Step 9: Closing the Sale
When closing the sale, your real estate agent and a title company can help provide guidance and support throughout the process. Things to be prepared for include:
- Review the Settlement Statement: The Settlement Statement, also known as the Closing Disclosure, outlines the final costs of the sale, including any fees or expenses you may need to pay. Be sure to review this document carefully before the closing to ensure that all the costs are accurate.
- Bring the Necessary Documentation: You’ll need to bring several important documents to the closing, including your government-issued ID, a copy of the purchase agreement, and any paperwork related to the home’s title or mortgage. Your real estate agent or closing attorney can provide a checklist of the necessary documents.
- Sign the Documents: At or before closing, you’ll need to sign several documents, including the deed transferring ownership of the property to the buyer, the mortgage agreement, and any other paperwork related to the sale. Be sure to read each document carefully and ask any questions you may have.
- Receive Payment: Once all the paperwork is signed, the buyer will provide payment for the sale. This may be in the form of a wire transfer or a cashier’s check.
- Transfer the Keys: Finally, you’ll need to transfer the keys to the buyer and provide any other necessary access codes or information. Be sure to leave the home in good condition and remove any personal belongings.
Step 10: Move Out
We all know that moving out of your home can be a stressful process, but it’s also one that can also be filled with excitement as you prepare to move into your new home. Here are some tips to help the move-out process go as smoothly as possible:
- Schedule Your Move-Out Date: Once the sale is finalized, you’ll need to schedule a date to move out of your home. Be sure to give yourself enough time to pack and move your belongings. Your real estate agent can help you understand any deadlines or requirements related to moving out.
- Notify Service Providers: Before you move out, be sure to notify all service providers of your move, including your utilities, cable, and internet providers. Be sure to pay any final bills and cancel or transfer any services as necessary.
- Forward Your Mail: You’ll also need to forward your mail to your new address. You can do this online through the United States Postal Service website.
- Clean Your Home: Before you move out, be sure to clean your home thoroughly, including the floors, walls, and appliances. This will help ensure that the home is in good condition for the new owners.
- Take Photos and Document the Condition: It’s a good idea to take photos and document the condition of your home before you move out. This can help protect you in case there are any disputes about the condition of the home after you’ve moved out.
Let Us Help You Take the Next Step
Selling your home can be a stressful and emotional process, but with the right preparation and support, it can also be a positive and rewarding experience. At Stephens Real Estate, we’re here to provide guidance and support throughout the process of selling your house. By following these steps and working with an experienced real estate agent, you can successfully sell your home and move on to your next adventure.